Publishing workflow
Preparing podcast audio and video for publishing
Loudness targets, file formats, cover art rules and music rights: what Apple Podcasts and other platforms document, step by step.
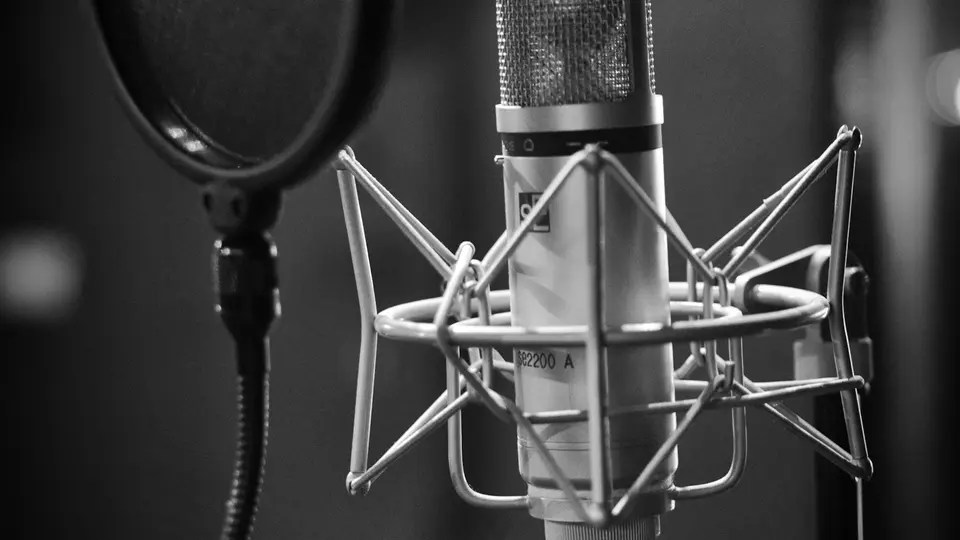
Editing is a craft, but preparing an episode for publication is mostly a checklist. Directories document what they expect, and following those documents avoids the most common problems: episodes that sound much quieter or louder than others, files a directory will not accept, and cover art that gets rejected. This guide summarizes what the platforms publish and points to the source for each rule.
Loudness: what Apple recommends
Apple Podcasts recommends preconditioning audio so the overall loudness stays around -16 dB LKFS, with a tolerance of plus or minus 1 dB, and a true peak that does not exceed -1 dB FS. Apple specifies that these values are calculated according to the ITU-R BS.1770-5 recommendation and that the preconditioning should happen before encoding.[1]
Spotify publishes a loudness normalization page for music that refers to -14 dB LUFS. That page is written for artists and does not state that it applies to podcasts, so we do not treat it as a podcast target. If you publish everywhere from one file, the Apple recommendation is the documented podcast reference.[3]
File formats
Apple Podcasts Connect accepts WAV, FLAC or MP3 files for subscriber audio. For audio delivered through an RSS feed, Apple accepts MP3 or AAC and notes that, at the same bit rate, AAC gives better audio quality. Most hosts encode for you, but it is worth exporting a high-quality master and keeping it.[1]
Cover art
For show covers submitted through an RSS feed, Apple accepts square artwork from 1400 x 1400 to 3000 x 3000 pixels and prefers the largest size, in PNG or JPG, without transparency. Designing at 3000 x 3000 and checking that the title is readable at thumbnail size covers both requirements.[2]
A publishing checklist for each episode
Back up the raw recordings
Keep untouched copies of every track before editing, so a mistake never costs you the interview.
Edit for content first
Cut false starts, long pauses and off-topic passages before working on sound.
Balance and clean
Even out the levels between voices, then reduce background noise without making voices sound processed.
Normalize loudness
Bring the finished mix to the documented loudness target and keep true peaks below the recommended ceiling.
Export a master and a delivery file
Keep a lossless master, then export the format your host asks for.
Listen to the start, a middle section and the end
Spot-check on headphones and on a phone speaker before uploading.
Write the metadata
Title, description, episode number and any credits for music or guests.
If you do not want to adjust loudness by hand, Auphonic says it processes up to 2 hours of audio per month for free, with a jingle added to free productions. Audacity, which is free and open source, also offers the editing steps above.[4][5]
Music and sound: rights come first
The U.S. Copyright Office explains that a song can involve two separately protected works, the musical composition and the sound recording, which are commonly owned and licensed separately. It also notes that trying and failing to reach the rights holder is not a substitute for permission. Using a commercial track in an episode therefore needs a license that covers your use, not only a credit in the show notes.[6]
Video and YouTube
YouTube publishes the list of countries where creators can deliver podcasts to YouTube through an RSS feed, and the United States is on that list. Check the help page for current eligibility before planning around it.[7]
Next steps: compare hosts in our hosting comparison or estimate your yearly budget with the launch budget planner.
Sources
Official pages read for this guide. Prices change: always confirm on the vendor page before paying.